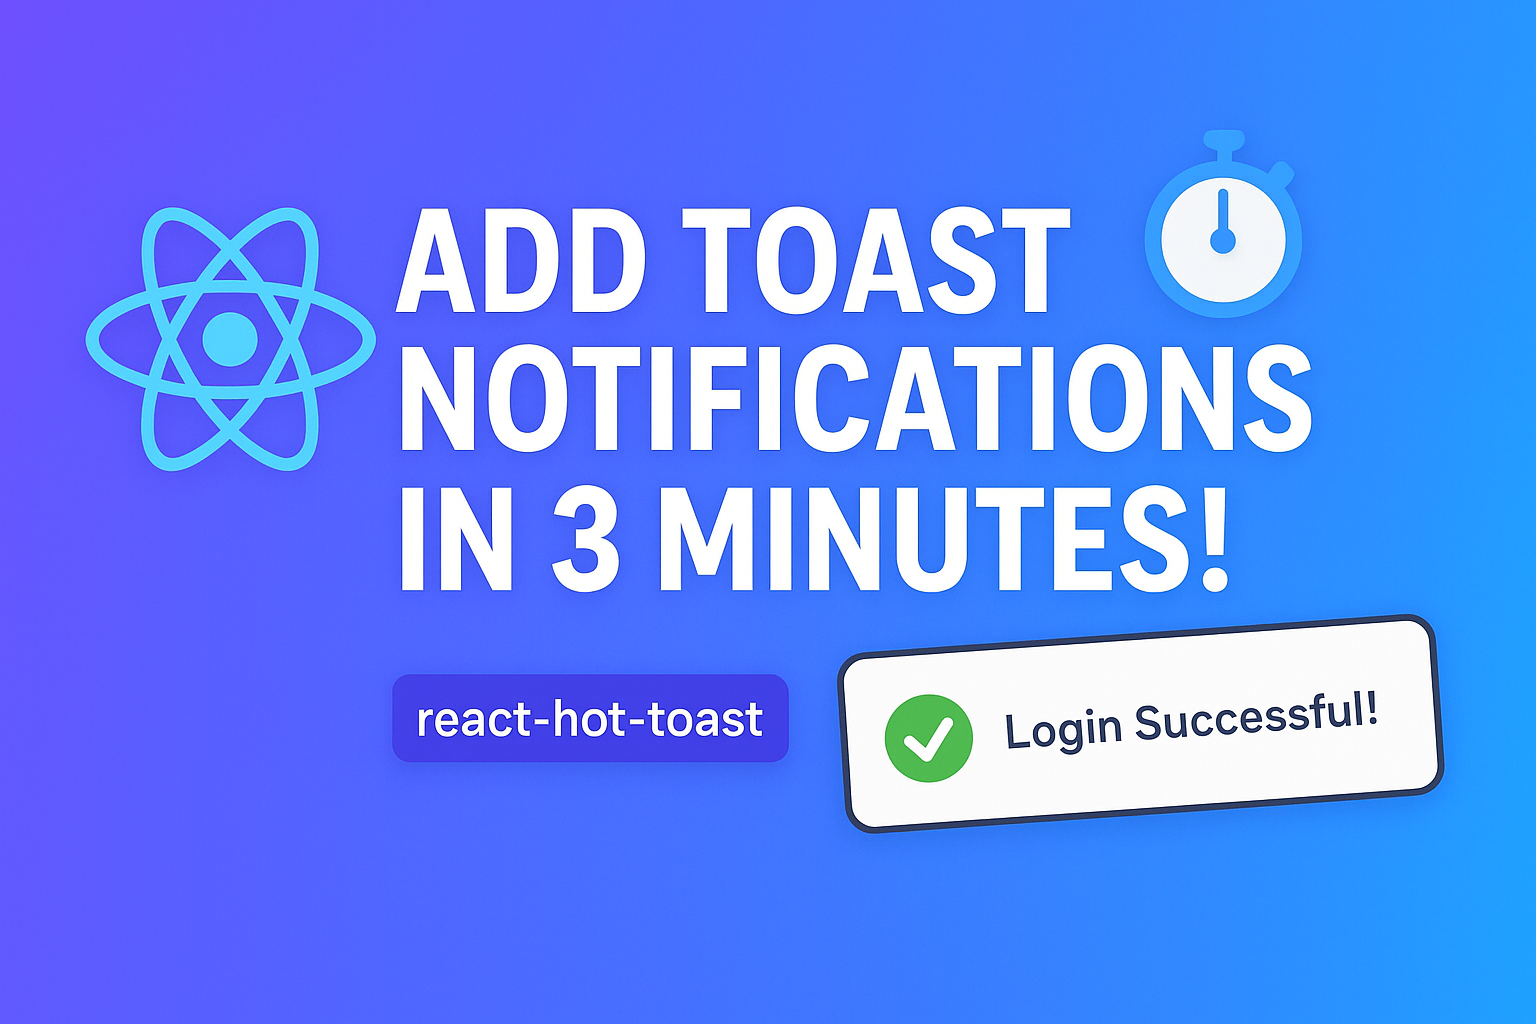
Add Toast Notifications in React
Adding toast notifications gives instant feedback to users after actions like form submits, logins, or API responses. react-hot-toast is a tiny, fast, and developer-friendly library that makes this easy.
Watch the Tutorial
Why use toasts?
Toasts are non-blocking notifications that appear briefly and then disappear. They are perfect for showing success messages, errors, and short tips without disrupting the user's flow.
Step 1 — Install the library
Install react-hot-toast in your project:
npm install react-hot-toast
This command adds the package and its small runtime to your node_modules.
Step 2 — Set up the Toaster
Add the <Toaster /> at the root of your application so toasts can be shown from anywhere. Typically this is in App.jsx, App.tsx, or your layout file in Next.js.
1// App.jsx
2import React from "react";
3import { Toaster } from "react-hot-toast";
4
5export default function App({ children }) {
6return (
7  <>
8    {children}
9    <Toaster />
10  </>
11);
12}
13
One <Toaster /> instance is enough — it manages a portal and renders notifications when toast() is called.
Step 3 — Trigger toasts
Import toast and call it where you want to show a notification. Use different helpers for types of messages.
1import { toast } from "react-hot-toast";
2
3// Success
4function onSave() {
5toast.success("Saved successfully! 🎉");
6}
7
8// Error
9function onError() {
10toast.error("Something went wrong.");
11}
12
13// Neutral / info
14function onInfo() {
15toast("Here is a tip.");
16}
17
Best practice: call toasts after a confirmed result (API response resolved, validation passed) to avoid misleading users.
Step 4 — Customize appearance and behavior (optional)
react-hot-toast accepts options for icon, duration, and style. You can pass an options object as a second argument.
1toast("Custom Message 💡", {
2icon: "🔥",
3duration: 4000,
4style: { background: "#333", color: "#fff" },
5});
6
7// Custom success toast
8toast.success("Saved!", {
9icon: "✅",
10});
11
Tip: create a small wrapper function to keep consistent icons and styles across your app.
Example: Demo component (Next.js / React)
1import React from "react";
2import { Toaster, toast } from "react-hot-toast";
3
4export default function ToastDemo() {
5return (
6  <div>
7    <Toaster />
8    <button onClick={() => toast.success("Nice! 🎉")}>Show Success</button>
9    <button onClick={() => toast.error("Oops, error")}>Show Error</button>
10    <button onClick={() => toast("Just an info")}>Show Info</button>
11  </div>
12);
13}
14
Quick checklist
- Install with:
npm install react-hot-toast
- Add
<Toaster />in root component - Use
toast.success()/toast.error()/toast()to trigger - Customize via options if needed
Wrap up
That's it — toast notifications are now available in your app. They provide instant, unobtrusive feedback and are easy to configure. If you want, I can add a demo page in this repo or provide TypeScript versions of the snippets.